SQ5R allows students to read and study books actively. This is a way to learn more information and understand it in less time.
The steps of SQ5R
- Survey the chapter
- Write Questions for each heading and subheading
- Read the information one paragraph at a time.
- Record Information
- Actively Recite important points from the paragraph
- Reflect on what you have read
- Review the chapter as a whole for retention
Step One: Survey the chapter
- Read the introductory materials carefully
- Read the headings and subheadings
- Look at the visual materials such as charts, graphs, or pictures
- Read marginal notes
- Skim over terminology or information in special print
- Read the end-of-chapter materials, including conclusion, summary, or chapter review questions
Step Two: Write Questions
Write potential questions based off of the section headings in order to address the main points in the section. You will have a chance to answer these later, in step five.
- Which? (specific items)
- When? (time periods)
- What? (specific facts)
- Why? (reasons)
- Where? (specific locations)
- How? (specific processes)
- Who? (specific people)
Step Three: Read Carefully and Thoroughly
- Read one paragraph at a time
- Read slowly enough so that you can concentrate and comprehend each paragraph
- Pay attention to facts, ideas, relationships
- Pay close attention to bold text, graphs, tables, and illustrations
Step Four: Record information
After reading each paragraph, take notes of the important information you will need to study, memorize, learn, and use. This allows you to have a condensed form of the information you are expected to know. Notes also allow you to be actively involved in the learning process. Writing information offers another way for you to hold information in working memory and encode it for your long-term memory.
Step Five: Recite Information
Before moving on to the next paragraph, recite the information written in your notes by speaking out loud and in complete sentences. Reciting helps encode the information for memory and creates important retrieval cues. This is the time where you can answer the questions written in step two. If unable to recite what you read or unable to the answer questions, go back and re-read.
Step Six: Reflect
Reflect on the information that you have just read. Try to make personal connections with the material that way recalling information later will be easier. Write down any reflections or connections you have made in your notes to come back to them again later if you forget them. If something is not clear, make a note of it and ask classmates or the professor in class.
Step Seven: Review
Once the surveying, questioning, reading, recording, reciting, and reflecting steps are completed, you may proceed to the review step. The suggested actions below will help you review the chapter.
- Answer any questions at the end of the chapter.
- Study and recite from the notes that you took in the Record step.
- Write a summary of the information in the chapter.
- Personalize the information by asking yourself additional questions:
- How can this information be used?
- How does the lecture from this class fit in with this information?
- Why is this important to learn?
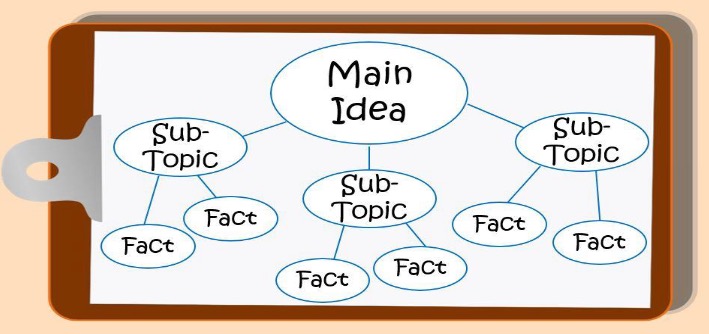
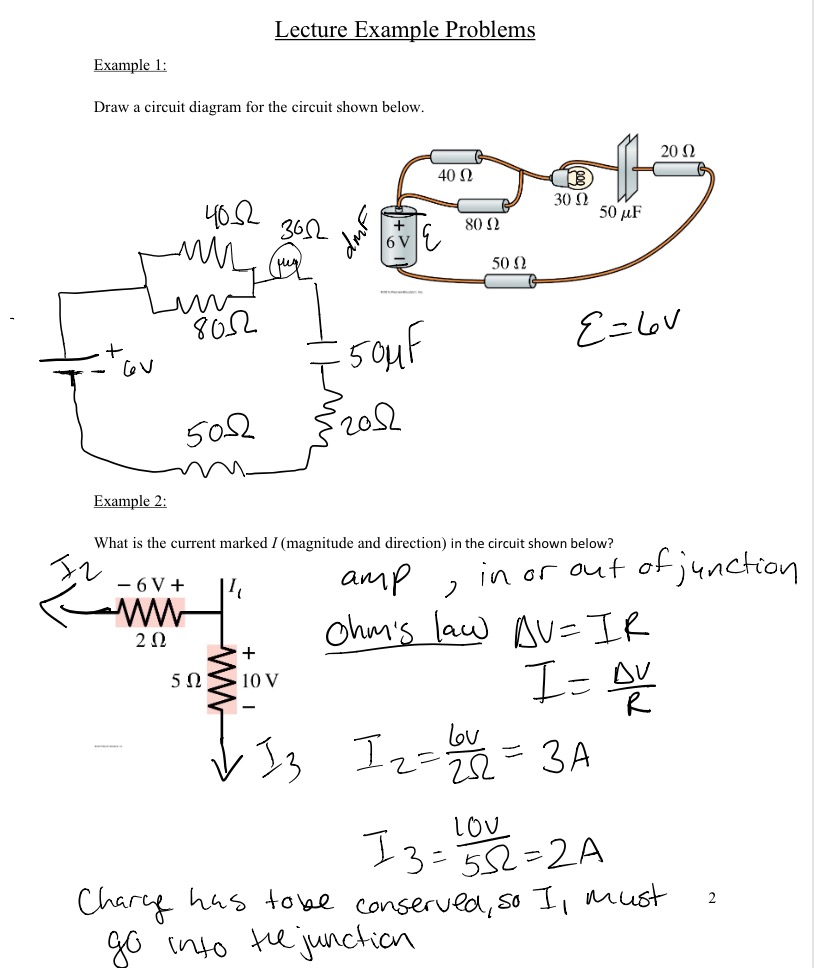
Create additional study tools such as index cards, audio recordings, or visual mappings. For math and science textbooks with math problems and formulas, copy the problems from the book, then work the problems. Compare the steps you used and your answers with those in the textbook.
THIEVES is a pre-reading strategy that helps you get a big-picture view of your text to orient yourself before you begin reading. This primes your brain to retain and understand the importance and relevance of the information you are learning.
It's also really good to do this strategy before you attend your class lecture, even if you are going to do the reading later. It will help prime you for the upcoming lecture so you can take better lecture notes.
T=Title. What do I think the text will be about? What do I already know about this topic?
H=Headings. How is the information divided up?
I=Introduction. How does this make me curious about the subject?
E=Every first sentence in a section. What details do I learn about the reading?
V=Visuals and Vocabulary. What do the visuals and bold words tell me about what I'll be reading?
E= End of Article, End of Chapter Questions. How does this finish? What do the questions tell me about the reading?
S=Summarize Thinking. What do I now think the author's main idea will be in this text?
This strategy works best if you do it with another student or a group from your class. Each student reads a short passage out loud and verbalizes out loud what they are thinking as they are reading. We use different strategies as we read actively. Below are some of the strategies and how you might verbalize them to others.
| Strategy Presented in Think Aloud | How to verbalize |
| Predicting | I predict, In the next part I think, I think this is |
| Questioning | What did, How did, Where was, Should there |
| Visualizing | I see, I imagine, I picture |
| Personal Response | I feel, My favorite part, I liked/disliked |
| Clarifying | I got confused when, I'm not sure of, I didn't expect, Why did |
| Summarizing | This is mainly about, Most important is |
| Reflecting | I think I'll ...next time, I wonder if, Maybe I'll need to ...next time, I realize that |
| Making Connections: Personal and text-to-text connections | This is like, This reminds me of, This is similar to |
Adapted from Schoenbach, R., Greenleaf, C., & Murphy, L. (2012). Reading for Understanding: How Reading Apprenticeship Improves Disciplinary Learning in Secondary and College Classrooms. San Francisco: Jossey Bass.


